- Brand:
Lignum Design
- Code:
L27-HCOF-L/R
- Pack Size:
1.92
- Unit of Measure:
m2
- Dimensions:
12.3mm x 100mm x 600mm
- Packs / Pallet:
48
- Installation Method:
Click, Floating
- Underfloor Heating:
Yes
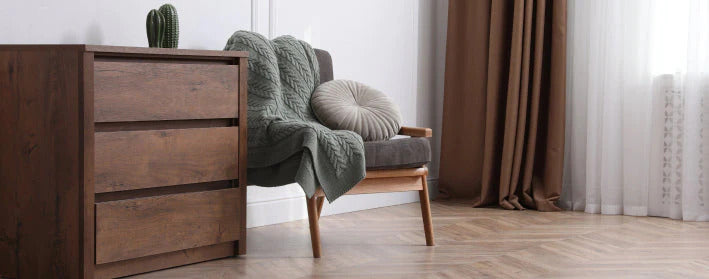
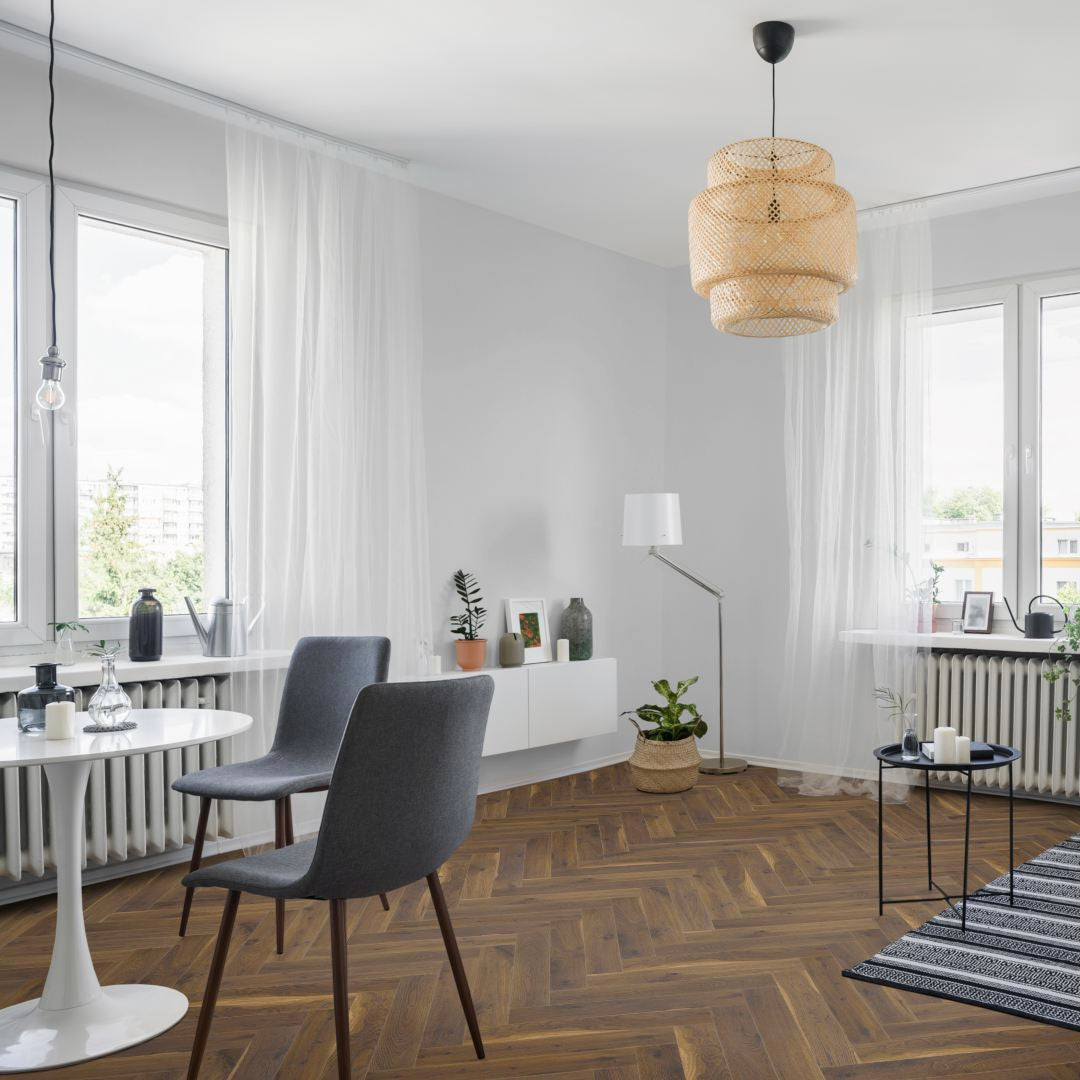
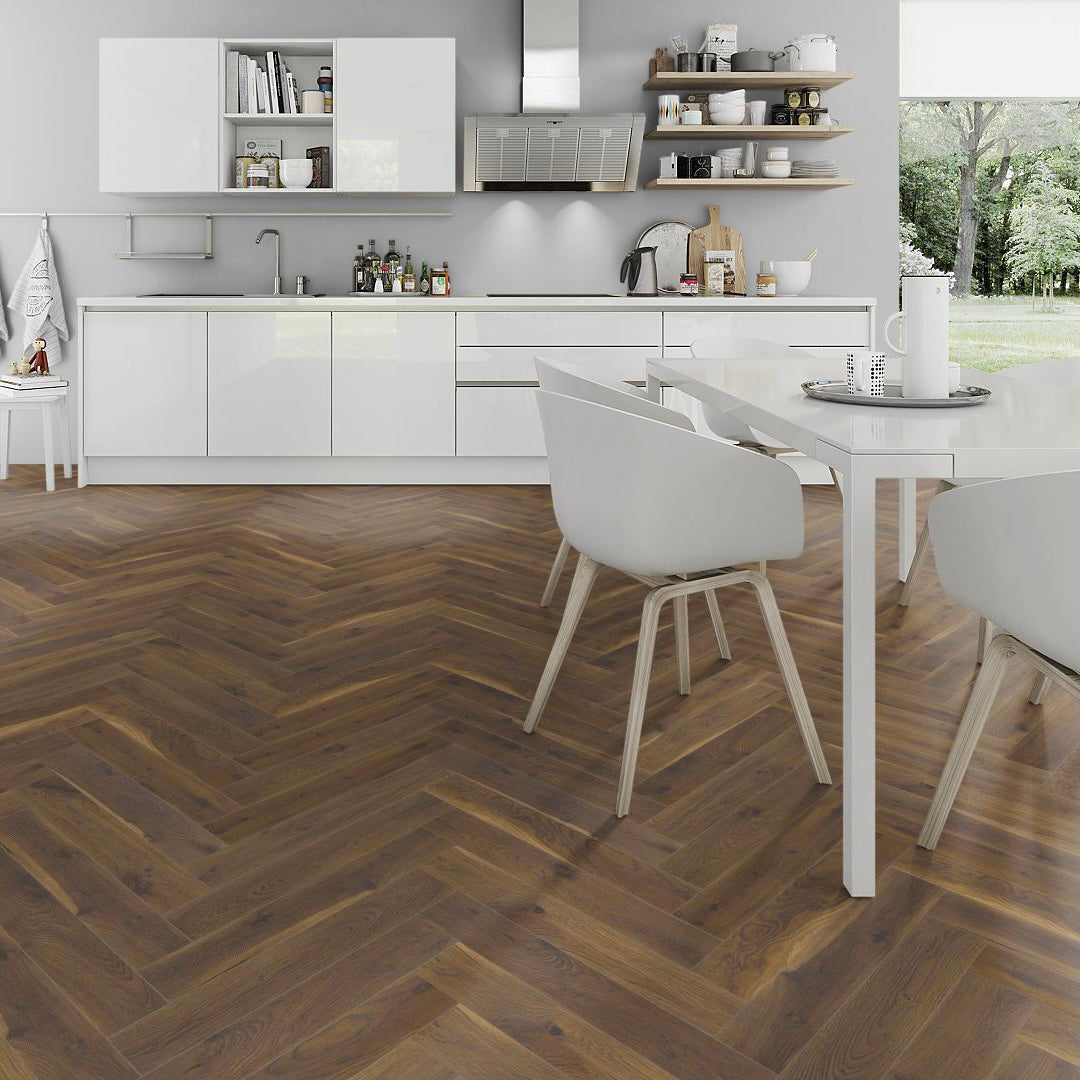
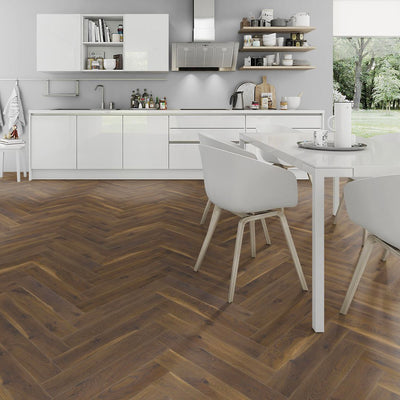
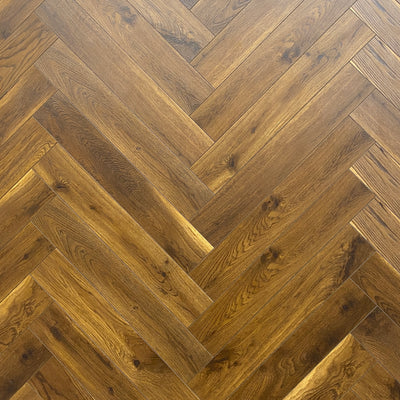
Home / / Konig Prestige Coffee Oak Herringbone
€22,99 €26,99


€22,99 €26,99
Unique, affordable and high quality laminate herringbone flooring.
30 Day Guarantee Returns
Buy Now Pay Later

Home Delivery or Click & Collect


Length:
600mm
Thickness:
12mm
Installation Method:
Click and Tap
Width:
100mm
Box Size:
1.92m sq
Finish:
EIR (Embossed in Register)
Does the floor come in separate boards or is it just a design?
The Herringbone range comes in separate boards to ensure an authentic look
How would you clean this floor?
We would recommend cleaning this floor with a lightly damp mop.
Would this floor be suitable for pets?
Yes, this floor is extremely suitable for households with pets due to its AC4 rating
What does AC4 rating mean?
An AC rating refers to the level of wear and tear a floor can endure. AC4 means it is perfect for heavy domestic or light commercial settings.
How much floor should i order to ensure i have enough?
For our herringbone floors, we would recommend adding on 10% to the area you are covering to account for waste.
Does this floor require an underlay?
Yes, all laminate flooring require underlay. we have a number of underlay available to suit any need.
Site prep, subfloor and underlay
Remove all furniture from the room, brush and vacuum the sub-floor.
If you are laying onto a new concrete sub-floor, check that it is fully dried which can take anywhere from 2 - 4 months.
Expansion Gaps
It is vital to leave a consistent expansion gap of 7-10mm at walls, pillars, stairs, doorways and other fixed objects or boarders in the room such as kitchen islands or fitted wardrobes. When drilling a hole for pipes, the hole should be 7-10mm larger than the pipe itself. Objects should not be fixed to a floating floor as this prevents the floor from expanding or contracting when needed.
Materials needed:
Tape measure Spirit level Ruler
Pencil
Saw or stanley knife 7 - 10 mm spacers Rubber mallet Underlay
Flooring Pencil
Installation Guidelines
*** These instructions are a guide only. If you are unsure about anything you should refer to the instructions provided with your materials. ***
The preparation to carry out before laying any boards is the same as that with a laminate
straight plank flooring.
•
The laminate herringbone flooring comes with equal boxes labelled ‘A’ and ‘B’. To begin, you will need three A planks and two B planks. It is best to keep these on either side of you as you lay the planks to avoid confusion. To begin working with the planks, take three A planks and place them on your left hand side and two B planks on your right hand side.
•
Click the side of your first B plank into the head joint of your first A plank to form the classic herringbone V shape. It is advised to look up photographs for reference here. The boards should be clicked in at a 12 degree angle and pressed flat. You should check the manufacturer’s guidelines to see what angle that specific brand recommends as all brands have slightly different grooves.
•
To continue, take another A plank and place this against your first A board along its edge to
meet the top corner of your first B board.
•
You should now have a V shape with two A planks on your left attached to one B plank on
your right beginning the pattern as shown in the image below.
•
Take your second B plank and place this into the left of your V shape and click into place.
Take your third A plank and place this one on the right of your V shape and click into place.
•
Take a fourth A plank and click its header joint into place at the nearest exposed corner of
your second B plank.
•
From the bottom left corner of the third A plank, to the bottom left corner of the fourth A
plank, mark a straight line and cut along it with a saw.
•
This will leave you with an inverted triangle. Disconnect the boards, and click back into
place.
•
From the centre of the rear wall, work your way outwards placing your inverted triangles,
leaving a 10mm at the back and side walls.
•
When it comes to fitting the last inverted triangle to the left and right-hand wall. For section a, ensure that you measure the distance and leave a 10mm gap between your flooring and the
wall.
•
For the left-hand , use the distance measured for section a, and mark (right-to-left) on the inverted triangle and cut this section. For the right-hand wall mark (left-to-right) and cut this
section.
•
Your two cut inverted triangles will now slot into place alongside your other inverted
triangles
•
Now comes the following rows. for the first row of boards, work from right-to-left, placing B boards to the left of each inverted triangle, clicking them into place. When it comes to laying your last board, similarly to the previous, take the measurement for section a and mark it on your B plank.
•
Then, cut the measurement for section a at a 45 degree angle to ensure it fits nicely into the
remaining space.
•
Now, glue the board to the inverted triangle to ensure it is sturdy and stable. •
When it comes to the next row of boards, place your A planks to the right of each inverted
triangle clicking them into place.
•
Make sure you continue this method of laying your boards using B boards from right-to-left
and A boards from left-to-right.
•
If you need any more assistance with this you can call our team on 01 840 4458 or email us at hello@woodfloorstore.ie.
Protection
Laminate floors are commonly difficult to scratch and chip but that doesn’t mean they’re indestructible. To help avoid unwanted marks and chips we have some tips for you!
Use wood flooring felt pads on heavy furniture and chairs that will be used frequently.
Check shoes, especially heels and football boots for any metal or hard materials that may damage your floor.
Install door mats at entrances to help remove any dirt, stones, and moisture from the bottom of shoes.
Cleaning
It is important to clean your floor regularly with the correct products and care.
For the initial clean, vacuum with a brush head attachment to remove any dirt, dust and debris. Then, we recommend using a damp mop and a floor cleaner that doesn’t contain bleach.
Unless you have waterproof laminate flooring, spillages and leaks must be cleaned up immediately as laminate floors can become damaged by moisture. Ensure that it is completely dried up to avoid damage.
Humidity in the room should be kept at a constant between 40-65%RH.
Contact us
Lignum Design
L27-HCOF-L/R
1.92
m2
12.3mm x 100mm x 600mm
48
Click, Floating
Yes
Does the floor come in separate boards or is it just a design?
The Herringbone range comes in separate boards to ensure an authentic look
How would you clean this floor?
We would recommend cleaning this floor with a lightly damp mop.
Would this floor be suitable for pets?
Yes, this floor is extremely suitable for households with pets due to its AC4 rating
What does AC4 rating mean?
An AC rating refers to the level of wear and tear a floor can endure. AC4 means it is perfect for heavy domestic or light commercial settings.
How much floor should i order to ensure i have enough?
For our herringbone floors, we would recommend adding on 10% to the area you are covering to account for waste.
Does this floor require an underlay?
Yes, all laminate flooring require underlay. we have a number of underlay available to suit any need.
Protection
Laminate floors are commonly difficult to scratch and chip but that doesn’t mean they’re indestructible. To help avoid unwanted marks and chips we have some tips for you!
Use wood flooring felt pads on heavy furniture and chairs that will be used frequently.
Check shoes, especially heels and football boots for any metal or hard materials that may damage your floor.
Install door mats at entrances to help remove any dirt, stones, and moisture from the bottom of shoes.
Cleaning
It is important to clean your floor regularly with the correct products and care.
For the initial clean, vacuum with a brush head attachment to remove any dirt, dust and debris. Then, we recommend using a damp mop and a floor cleaner that doesn’t contain bleach.
Unless you have waterproof laminate flooring, spillages and leaks must be cleaned up immediately as laminate floors can become damaged by moisture. Ensure that it is completely dried up to avoid damage.
Humidity in the room should be kept at a constant between 40-65%RH.
Contact us